Configure Microsoft Windows 7 to join UALR-WiFi (alternative instructions)
If the typical Windows 7 instructions did not work for your computer, try these alternative instructions to for the UALR-WiFi network.
Step-by-step guide
Click the network icon located in the system tray, lower right-hand corner of the screen to display all available networks
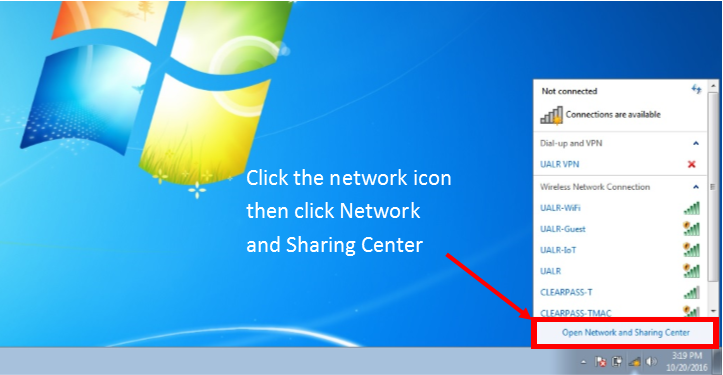
Click Manage Wireless Networks located on the left-hand side of the screen

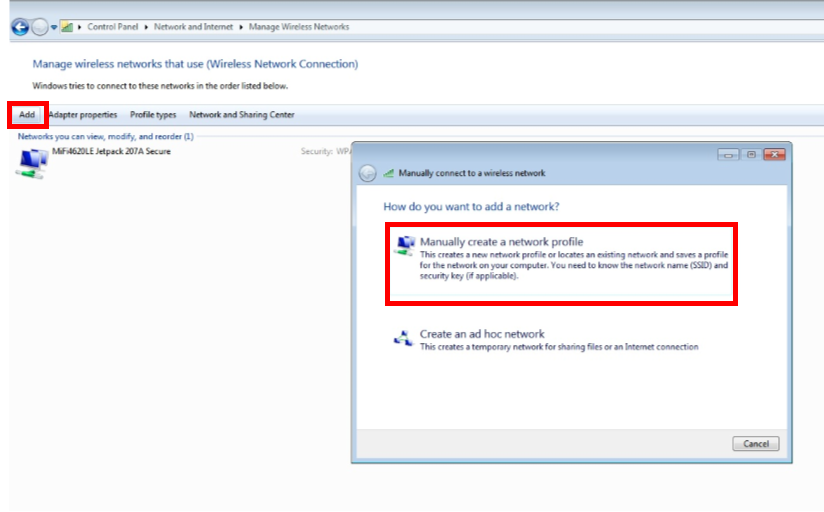
Select ADD in the upper left-hand corner then click “Manually create a network profile” located in the Manually connect to a wireless network dialog box
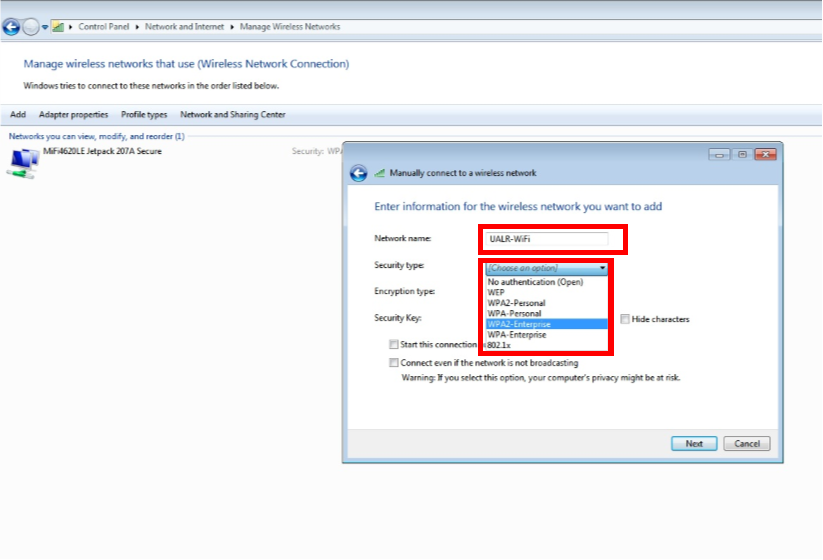
In the Manually connect to a wireless network dialog box, enter “UALR-WiFi” for the Network name, then select “WPA2-Enterprise” from the Security type drop-down list
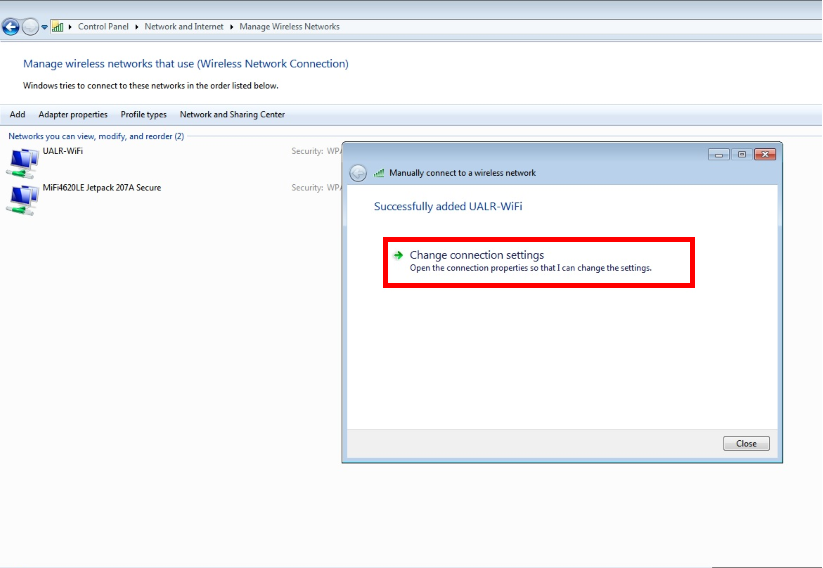
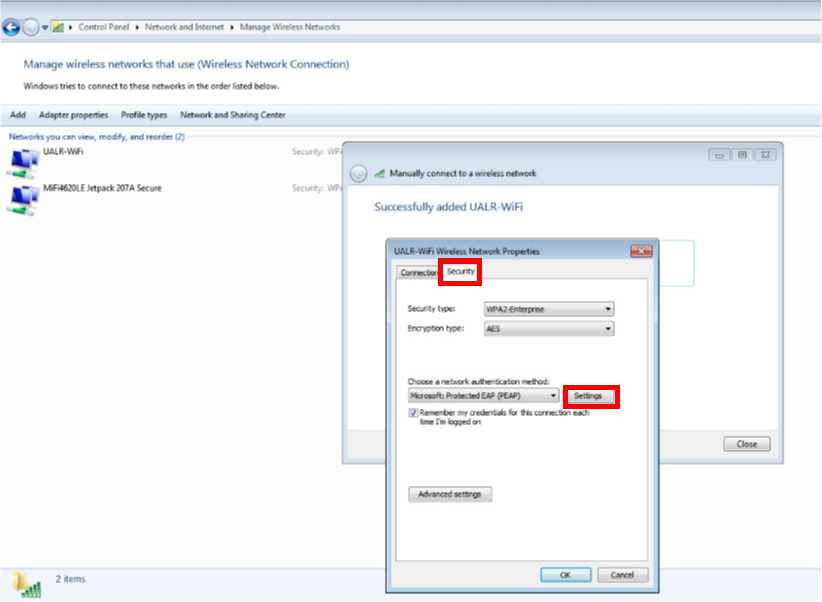
You have successfully added the UALR-WiFi network. Next click Change connection settings in the Manually connect to a wireless network dialog box
Click the Security tab then click Settings
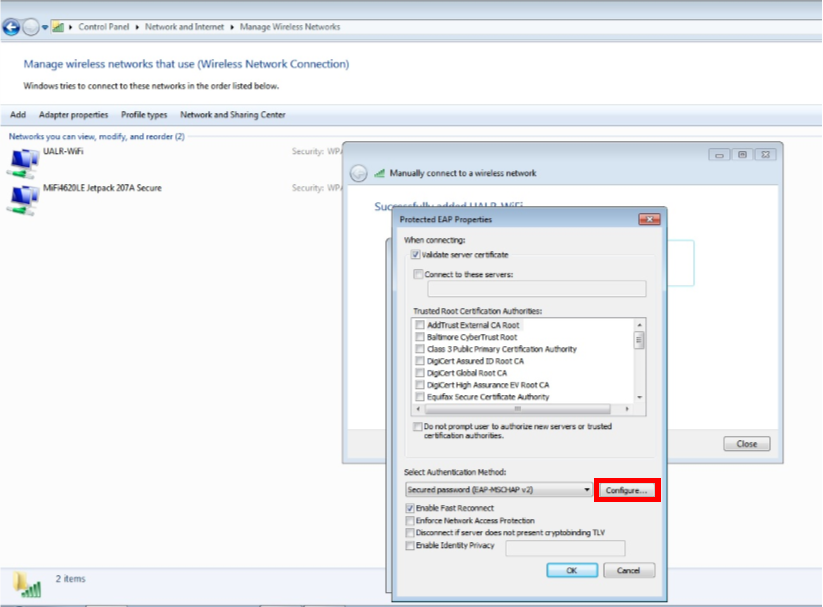
Click Configure in the Protected EAP Properties dialog box
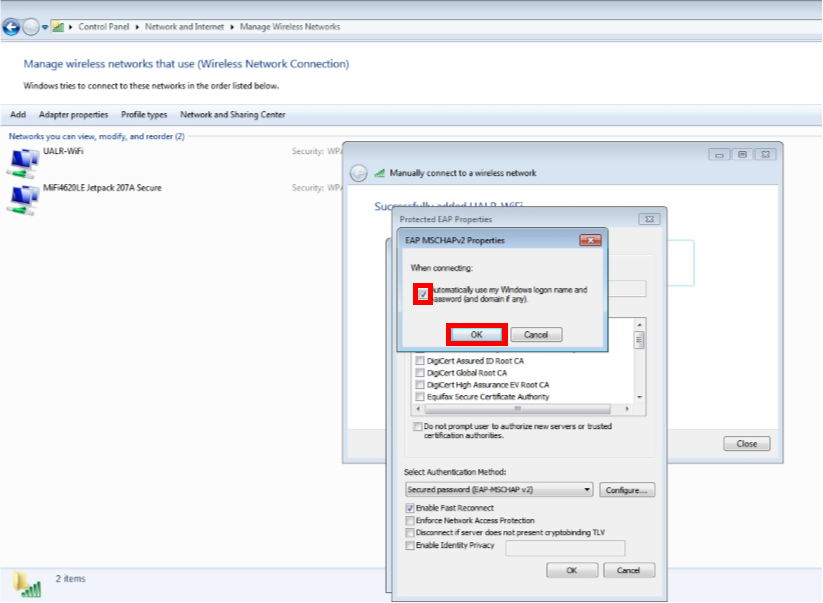
Remove the check in the EAP Properties box then click OK to back out of each settings window
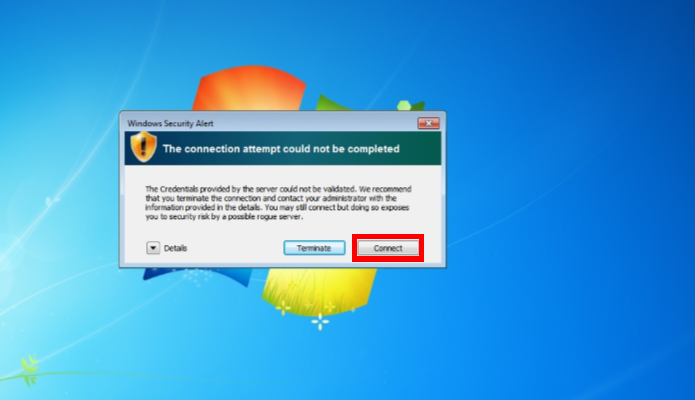
Click Connect to accept the certificate
Enter your NetID and Password then click OK
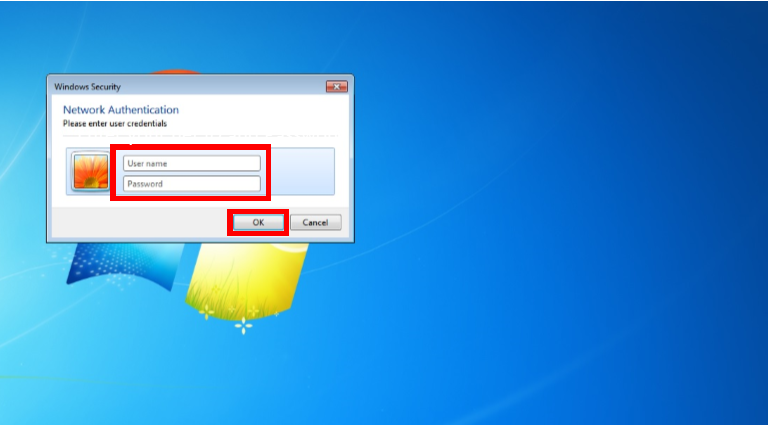
You are now connected to the network
Related articles