/
Configure Microsoft Windows 7 for 802.1x
Configure Microsoft Windows 7 for 802.1x
- Former user (Deleted)
- Former user (Deleted)
Owned by Former user (Deleted)
The preferred method is to configure your computer for dot1x connectivity [i.e. wired Ethernet connection]. Do not check the box for validate server certificate. This provides the most secure connection and is based on netID credentials.Step-by-step guide
Enable Wired AutoConfig on your Computer
- Click the Start button and type services.msc into the search box.
- In the services window locate the service named Wired AutoConfig.
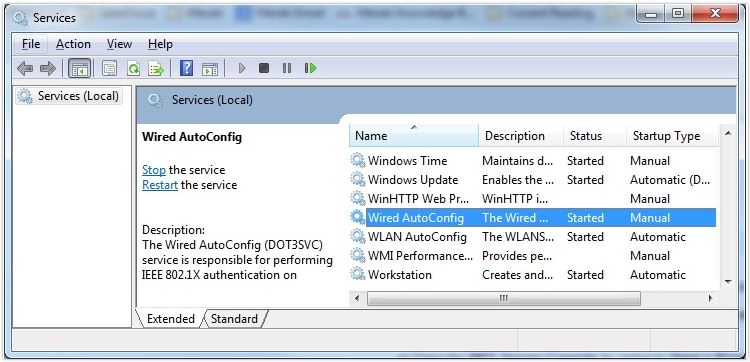
- Right click on this service and click on properties.
- Select the Startup Type Automatic and press OK.
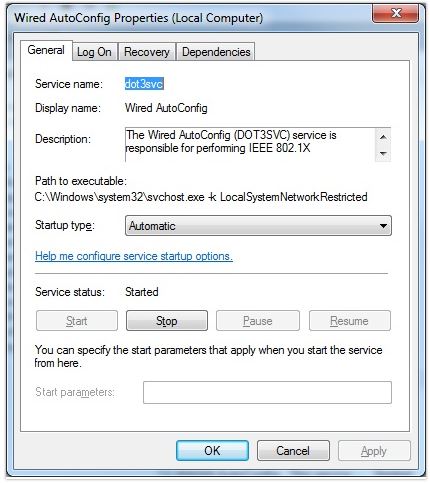
- Reboot your computer for the changes to take effect.
Configure the Local LAN connection for 802.1X authentication
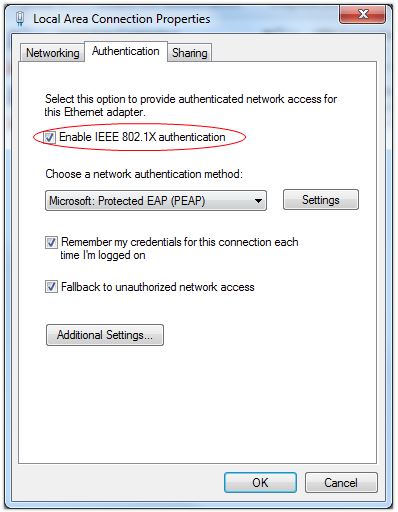
- Right click on your network adapter and select Properties.
- Click on the Authentication tab and select the option for IEEE 802.1X authentication.
- Choose the network authentication method Microsoft:Protected EAP (PEAP) from the drop down:
- Click Settings (next to the network authentication method drop-down).
- If you are using a server certificate, select Validate server certificate. Otherwise, deselect this option.
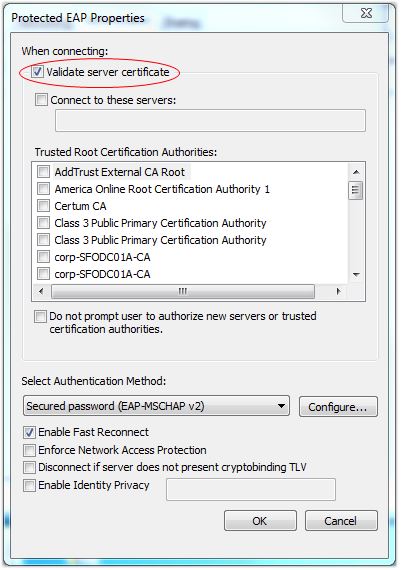
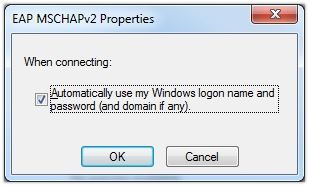
- Click Configure and select Automatically use my Windows logon name and password (and domain if any) click "OK" twice to return to the Local Area Connection Properties
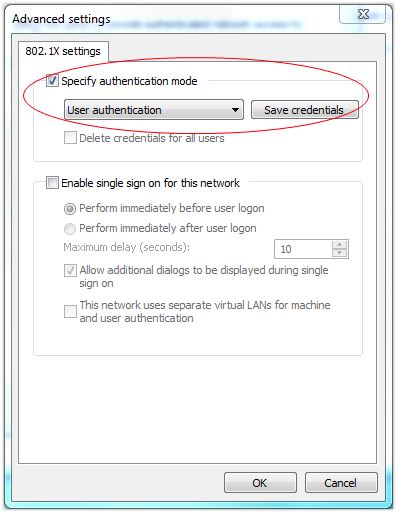
- Click Additional Settings and select Specify authentication mode and specify User authentication. Click "OK" twice.
, multiple selections available,
Related content
Configure Microsoft Windows 7 to join UALR-WiFi (alternative instructions)
Configure Microsoft Windows 7 to join UALR-WiFi (alternative instructions)
More like this
Windows 11 802.1x Endpoint Configuration
Windows 11 802.1x Endpoint Configuration
More like this
Configure Microsoft Windows 10 for 802.1x
Configure Microsoft Windows 10 for 802.1x
More like this
Configure Microsoft Windows 7 to join UALR-WiFi
Configure Microsoft Windows 7 to join UALR-WiFi
More like this
macOS 802.1x Endpoint Configuration
macOS 802.1x Endpoint Configuration
More like this
Wired Public Ports
Wired Public Ports
More like this